

Stop fighting your waterproof heaters
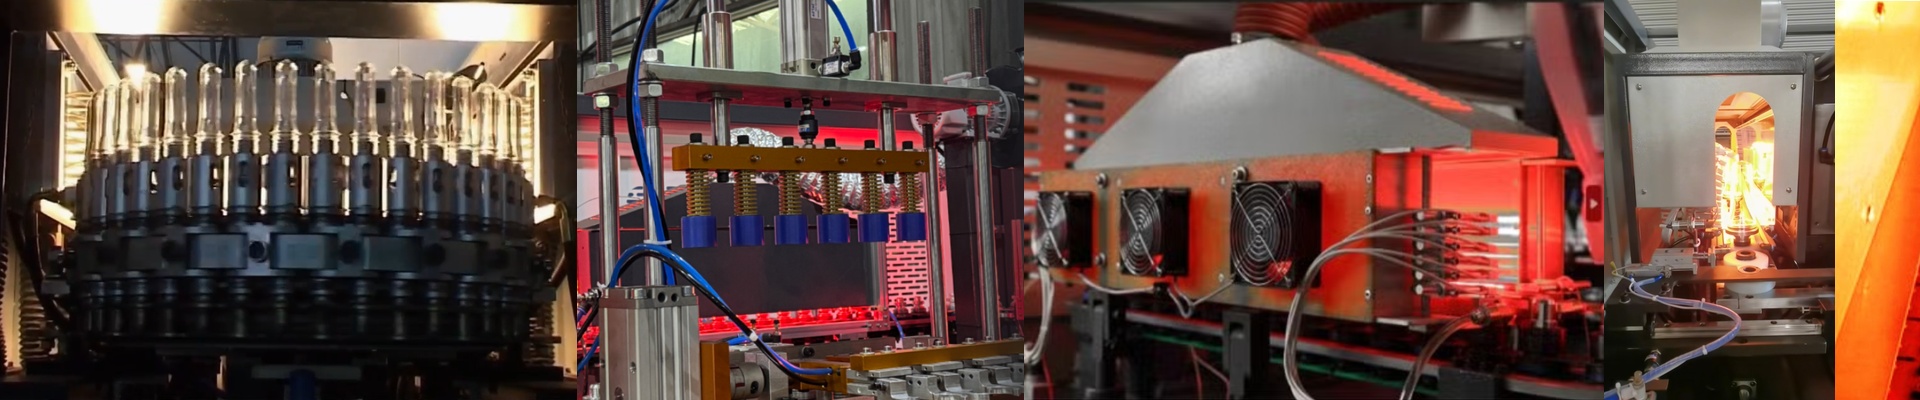
Here is the problem with most waterproof heaters: they usually fail right at the seal or the connection point. And when you wrap a heating element in an IP65 enclosure to keep the dust and moisture out, you usually lose the ability to actually get into the thing. Most units are sealed so tight that if a tube burns out, you have to basically tear the whole housing apart just to fix it. It’s a headache. So, we decided to fix that. The “Consumable” Mindset We look at the heating element as a consumable—like a lightbulb. If a lamp dies after five years, you shouldn’t have to rewire the entire chassis. Our setup separates the IP65 protective shell from the actual heating assembly. You just slide the module out, swap the tube, and lock it back in. The best part? You don’t have to break the main waterproof seal to do it. The Trade-off (Keeping it Real) Now, keeping an IP65 rating means the unit has to stand up to low-pressure water jets. We use high-temp gaskets and sealed cable glands to make that happen. But there’s a catch: heat gets trapped. Since the unit is sealed, the air inside gets hot way faster than it would in an open-air heater. This is why getting your power density right is so important. If you try to cram too many watts into a tiny, sealed space, you’re just going to kill the lamp faster. Fixing it on the Fly When a tube finally goes, you don’t need a full teardown. We used modular clips for a simple drop-in replacement. It turns a maintenance window that used to take hours into something that takes a few minutes. Plus, we stuck with standardized connectors. No one wants to fight with proprietary wiring during a midnight breakdown. You pull the old module, slide in the new one, and you’re back in business. It keeps the machines running and keeps your maintenance costs from spiraling.